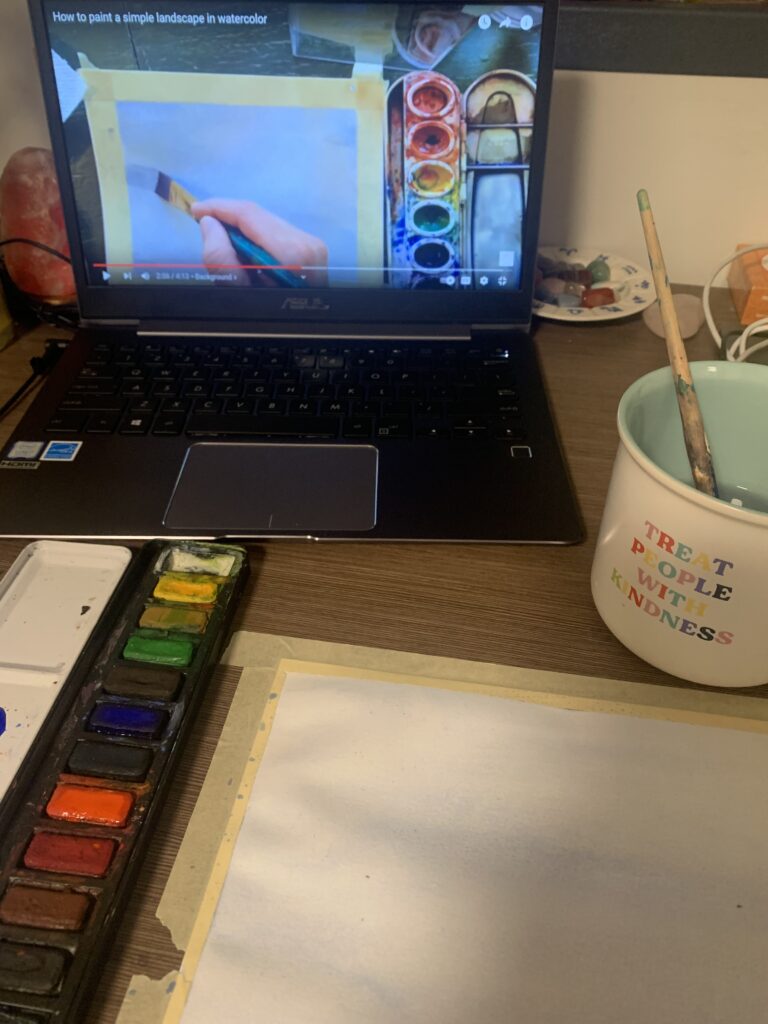
I found an amazing resource on Youtube this week for watercolour painting. This short video was packed full of useful tips! She described how to paint a landscape of mountains and trees using one colour diluted with water to create different opacities.
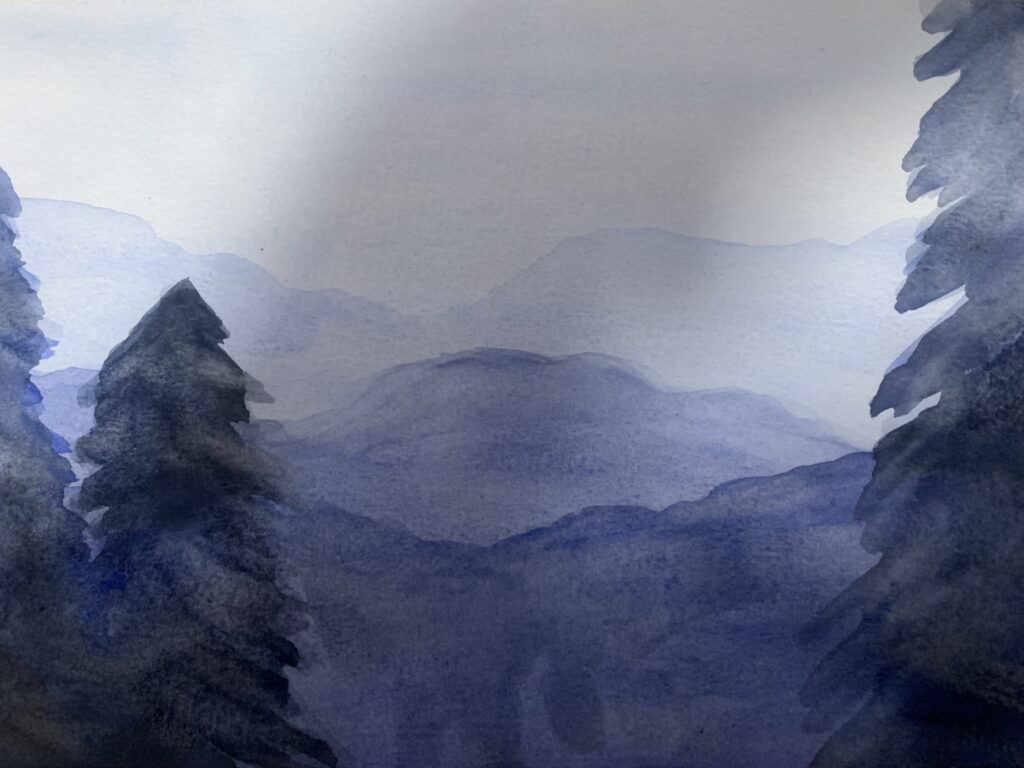
This video included some bits of information about watercolour painting that I found super helpful. She mixed in a little bit of orange to dull down her blue, which is a technique that I actually learned when dyeing my own hair! It seems so obvious but I never thought to try it while painting. The main thing that helped me while following her tutorial was her advice on layering and creating depth. The lightest or most transparent shade of blue goes on first to appear the farthest away, and the darkest or most opaque shade should be the last, appearing closest to the viewer.
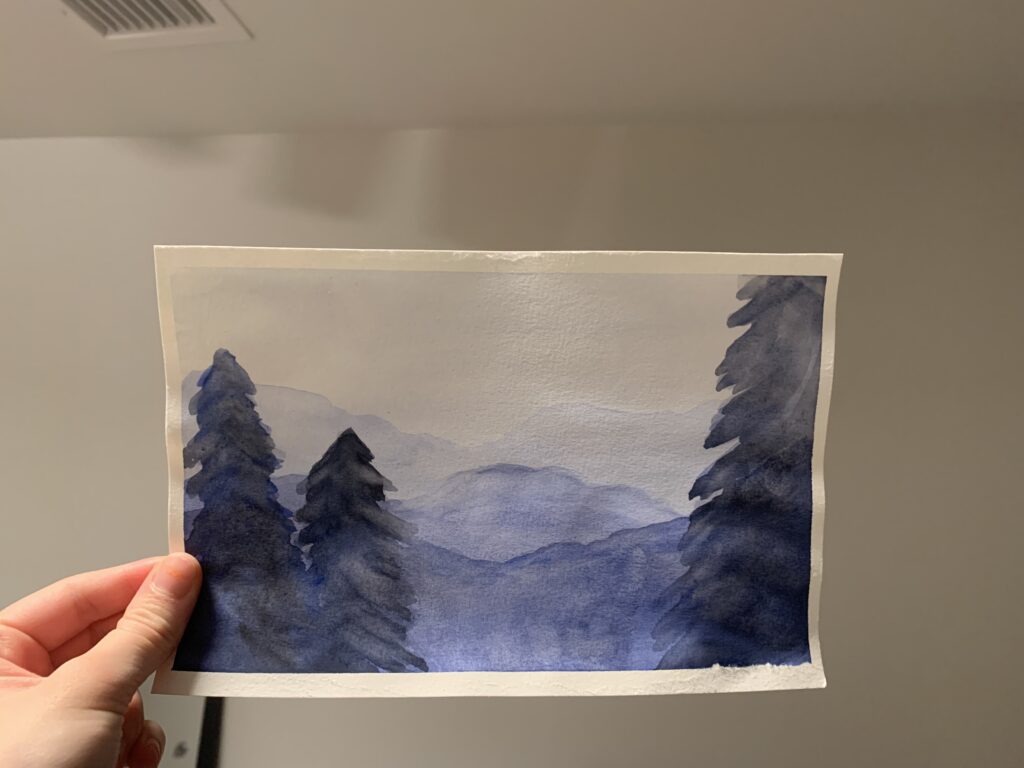
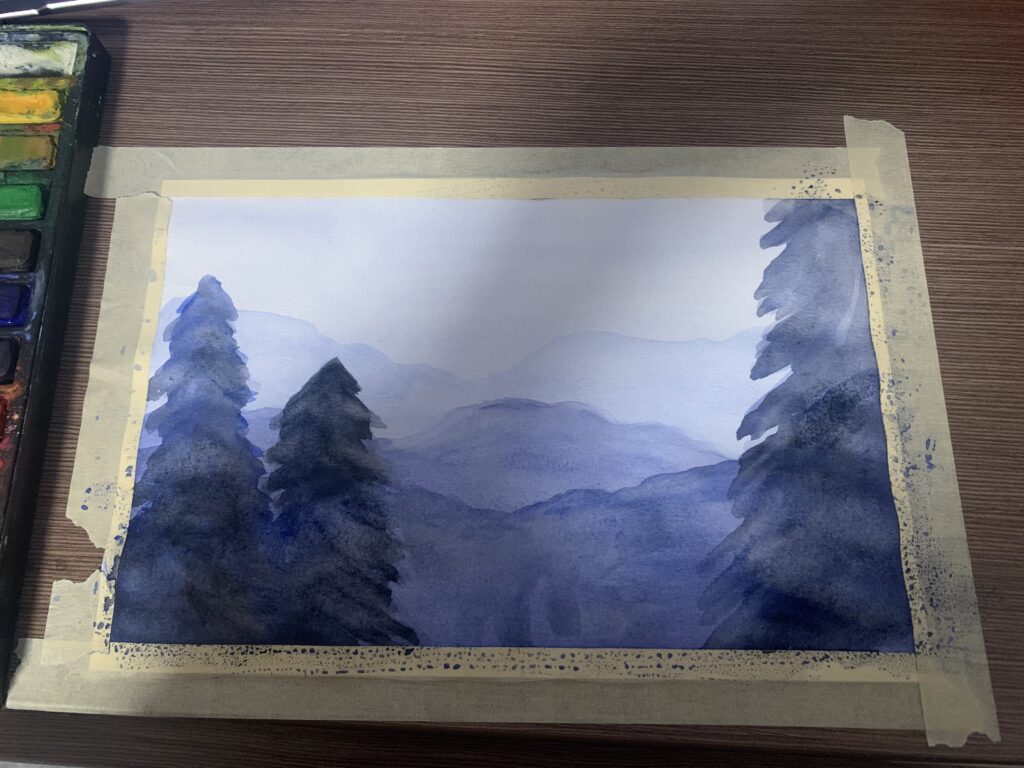
The most essential piece of learning that I took away from her video is to let each layer dry before adding the next. I forgot to do this one time in between the middle mountain and the final, closest mountain. Luckily, the creator actually showed how you can fix this mistake in the case that you do make it, and I was able to cover it up with the tree on the right. She also explained that you can go back and add additional layers of paint over top of the already dried layers. She used this technique with her trees and was able to create a really cool effect with the multiple layers, which I tried to recreate on my painting.
Key Ideas:
- Layering paint
- Colour theory and mixing paint
- Opacity and diluting paint
- Creating depth
- Landscape painting
Leave a Reply
You must be logged in to post a comment.